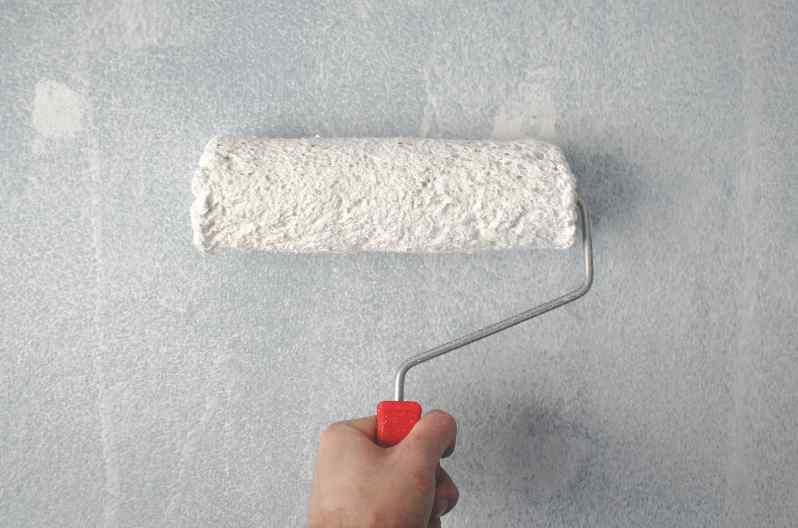
Yellowish-brown water stains on the ceiling can be unsightly and frustrating, but they don’t have to be permanent. Our guide explains how to cover water stains on ceilings or walls and repair the damage. Whether you’re looking to hide a small spot or cover up a large area, we’ve got you covered. We’ll cover a range of solutions, including painting, texturing, and using ceiling tiles or panels. By following these steps, you’ll have the knowledge and confidence to tackle those water stains and give your ceiling a fresh, new look.
How To Cover Water Stains on Walls and Ceilings
Water stains are yellowish-brown spots caused when water leaks dry. They are usually caused by a slow plumbing leak from a faucet or toilet. Since the leak only drips when that plumbing fixture is used, the area has time to dry. Follow these steps to fix water stains on ceilings and walls up to two feet across.
1. Find and Fix the Leak
Before you can fix the water stain, you need to find and repair the leak. Otherwise, the stain will keep coming back. For water stains on the ceiling, the cause is usually a leaky toilet or sink on the floor above.
You might be able to fix the problem simply by tightening a water hose or replacing a gasket. Although, some repairs might be more involved. For example, water stains on walls can be harder to find. You may need to cut open the wall so you can find the leak.
If you only need to fix old water stains, skip ahead to step three.
2. Dry the Stain Completely
Once the leak is fixed, you need to use high-volume fans and drying dehumidifiers to dry out the area. To dry walls, point two fans at the wall at opposite angles with the dehumidifier in between them.
When drying your ceiling, use a ladder or scaffolding to lift a fan up and point it directly at the stain with the dehumidifier underneath.
Depending on the size of the water stain, it can take as little as a few hours up to overnight to dry completely.
3. Scrape Away Loose Material
Next, scrape the stain with a putty or painters knife to remove loose paint and wall material. You don’t need to apply a lot of pressure or work fast.
Hold the blade of the painters knife flat against the wall or ceiling and then run it back and forth across the stain. The goal is only to scrape away material that is damaged.
However, you don’t want to chip away too much material. This will only drive up the cost of repairs and take more time.
It’s helpful to put down a drop cloth first. This will help keep from making a mess and make cleaning up easier.
4. Disinfect the Stain With Bleach
Since water can lead to mold, you should disinfect the stain with a bleach solution. Mix one cup of bleach in a gallon of warm water, then carefully wipe the area with a rag. Let the stained area air dry, then wipe it down again with bleach.
Make sure you wring the rag out well before wiping down the stain. This will prevent it from dripping on your furniture or carpeting and causing stains.
5. Repair the Damage
Depending on the damage, you may need to use drywall mud or joint compound to make repairs. Fill in small cracks or chips in the wall or ceiling and then use a painters knife to smooth them over.
Let it dry and then lightly sand the stain, so it matches the rest of the wall. You may need to repeat the process a few times to get it completely smooth. Let the mud dry for at least a day before painting.
6. Paint Over the Water Stain
As long as you have smooth ceilings, you can paint over the water stain. For the best results, you should start with a stain-blocking primer. Paint over the water stain with the primer, covering just the stained section.
Then do a second coat of primer over the stain, spreading out several inches in every direction. Once the primer is dry, you can apply a coat of paint.
For darker colors, you might be able to paint just the stained area and feather it into the rest of the ceiling or wall. However, for lighter-colored paints you should paint the entire wall for an even finish.
If you have texture ceilings, it will take a little more work. Scrap away some of the existing texture, then prime the ceiling. Then add the texture to the paint and cover the repaired section, being careful not to paint over the undamaged area.
Once the newly textured ceiling has dried, paint over the area again without texture in the paint. This will give you a uniform color and finish.
Talk to a local pro now. Certified Restoration Local water cleanup specialists offer 24-hour service and fast, free quotes.
Can You Paint Over Water Stains?
You can paint over water stains, but unless you fix the leak first, you are just wasting time and money. The best case is the paint covers the stain for a couple of days.
However, it’s more likely that the paint won’t even cover the stain in the first place. This usually happens when the wall or ceiling is still wet when you paint over the stain. Since the paint doesn’t dry right, it just peels or flakes off.
If you plan to paint over water stains, you really need to fix the leak and repair the damage first. Follow the steps above to make repairs first, then you can paint over the water stains.
If you have water leaking through your ceiling or walls, let Restoration Local clean up the damage. Our restoration specialists will remove the water and fix the damage fast. Call 1-888-443-3110 now for a risk-free estimate on water damage cleanup and repairs.


